DIY Pressure Washing: What You Need to Know Before Starting


Understanding Pressure Washing
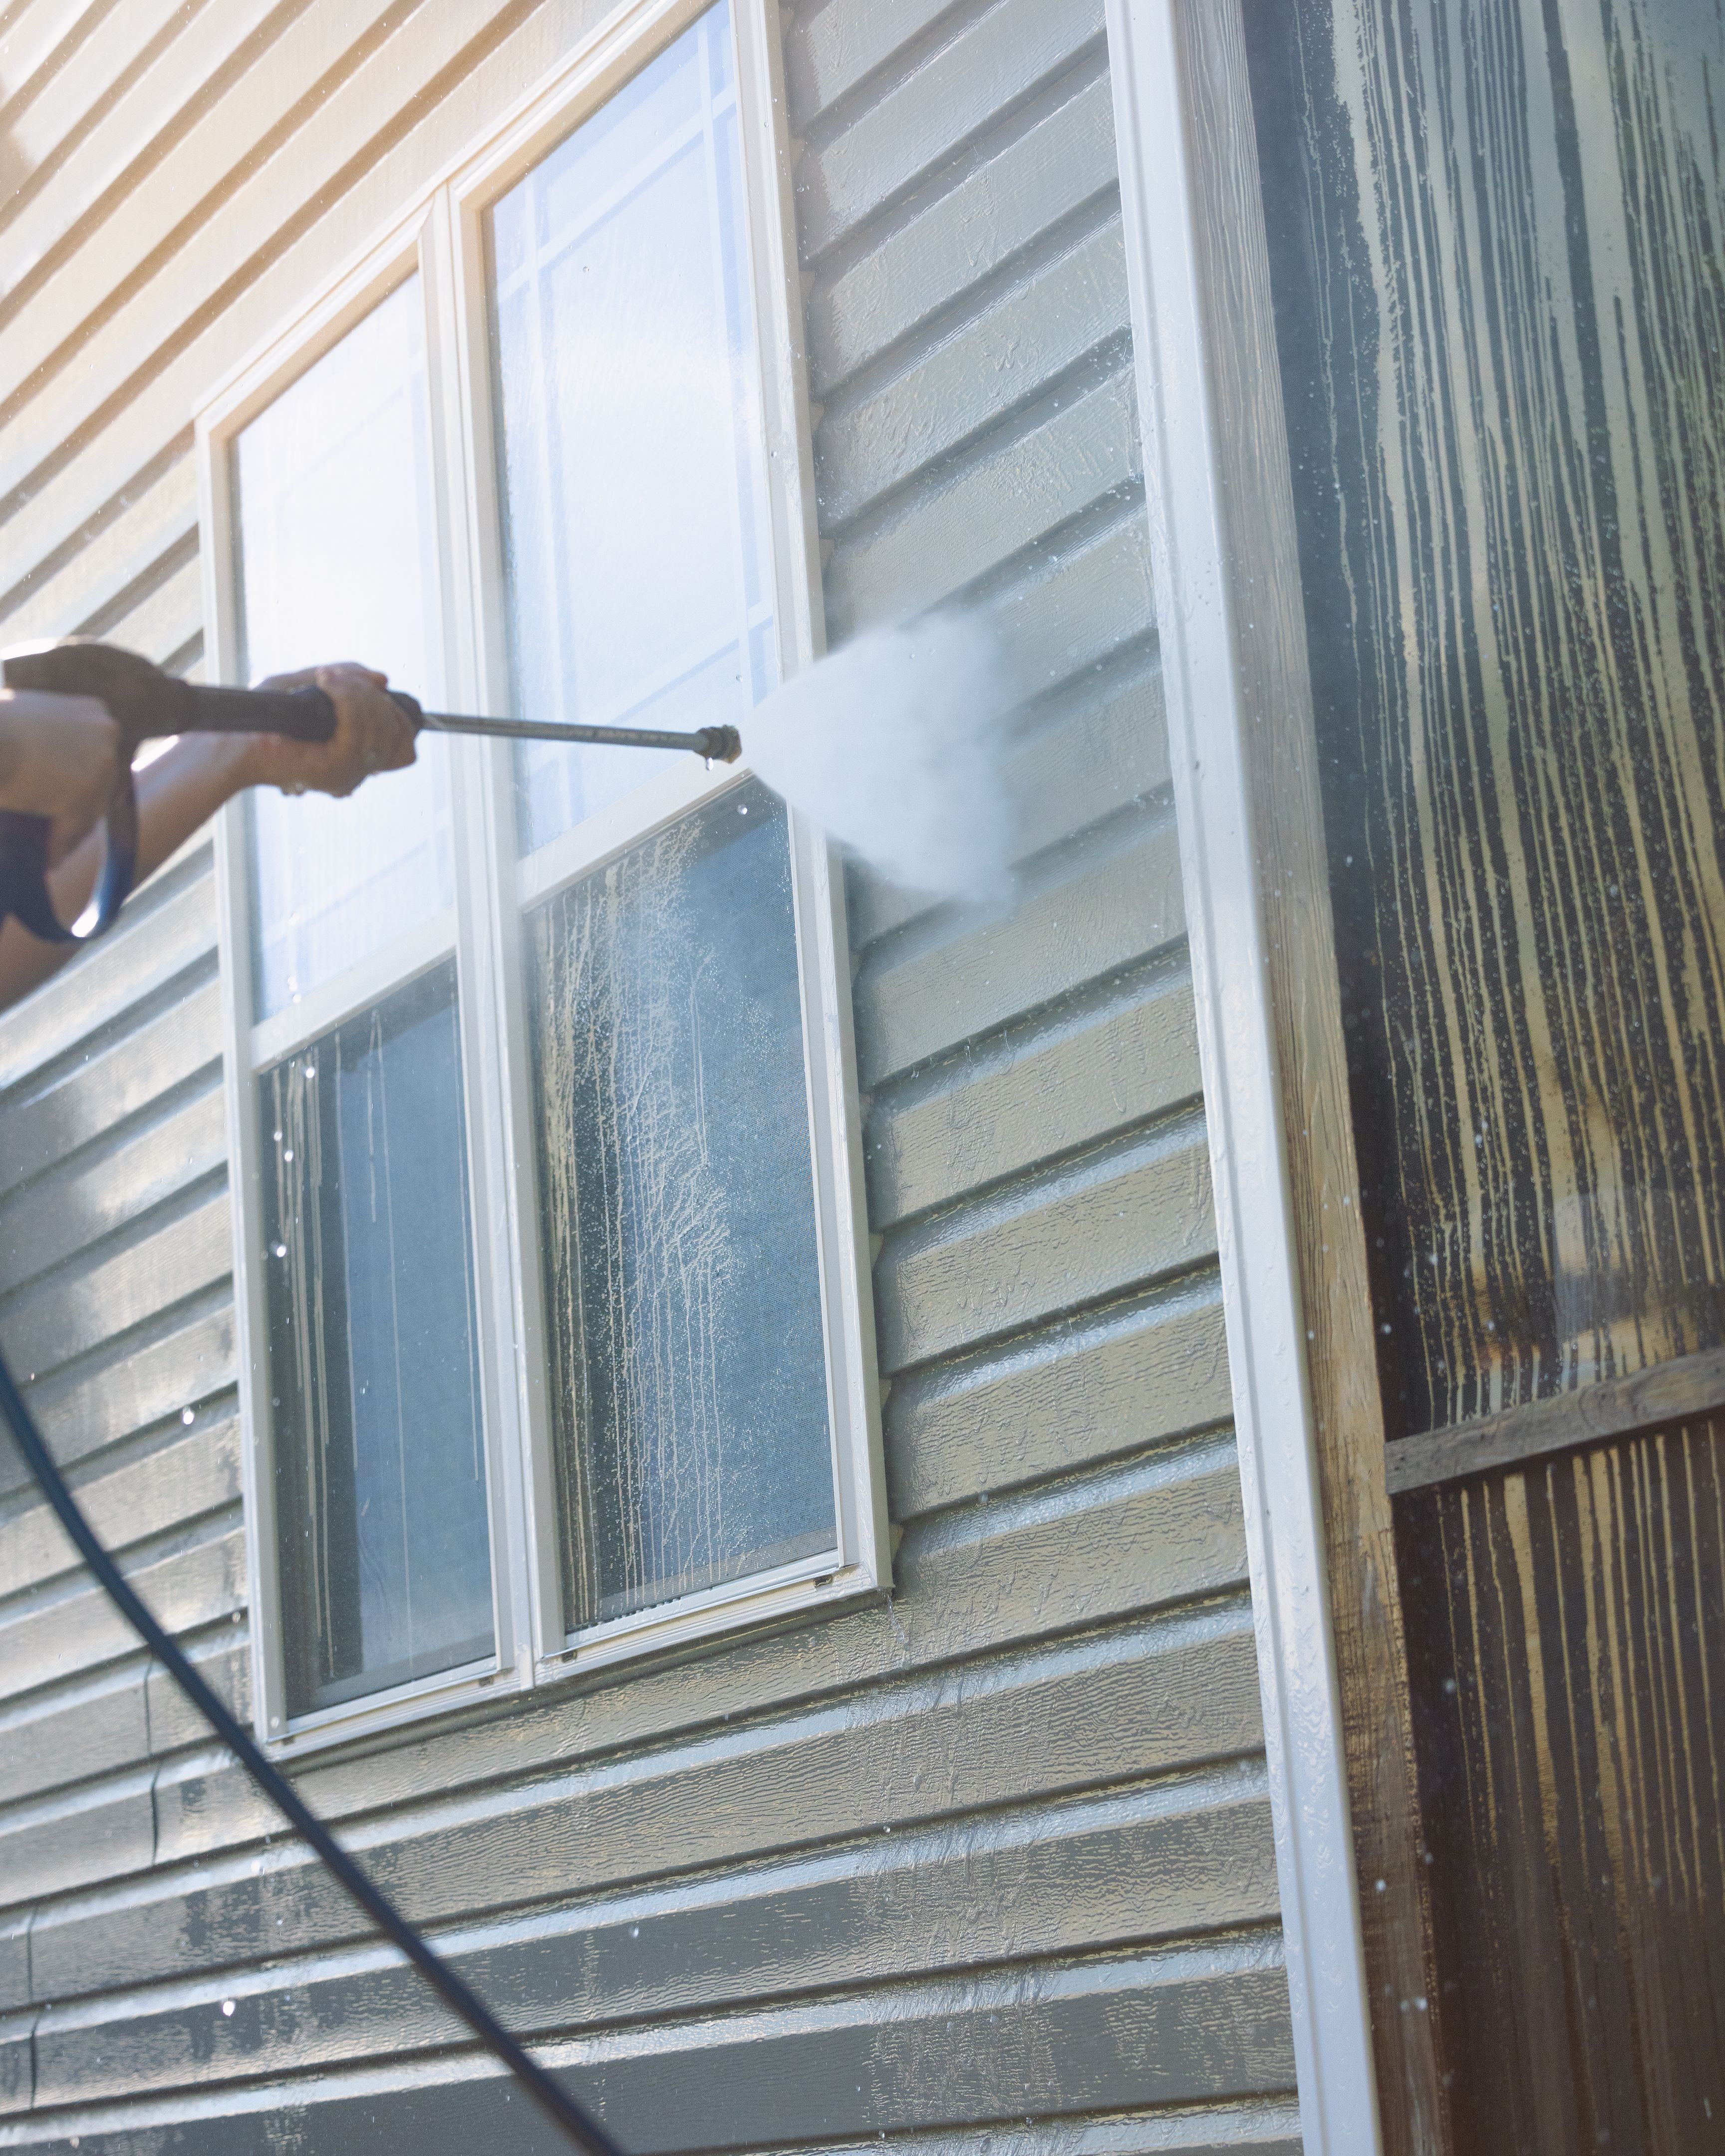
Pressure washing is a powerful method to clean various surfaces, from driveways and decks to siding and fences. It uses a high-pressure water spray to remove dirt, grime, mold, and other unwanted substances. However, before embarking on a DIY pressure washing project, it's essential to understand the basics to ensure safety and effectiveness.
Essential Equipment
Choosing the Right Pressure Washer
The first step in your DIY pressure washing journey is selecting the right equipment. Pressure washers come in two types: electric and gas-powered. Electric pressure washers are generally more affordable and suitable for smaller tasks, while gas-powered models offer more power and are ideal for larger projects.
Additional Tools and Accessories
Along with a pressure washer, you’ll need a few essential accessories to ensure a thorough cleaning. These may include:
- Nozzles of varying degrees for different spray patterns
- A surface cleaner attachment for even cleaning
- Extension wands for reaching high places safely
- Protective gear like gloves and goggles
Safety Precautions
Pressure washing can be hazardous if not done correctly. The intense pressure can damage surfaces or cause injuries. Always read the manufacturer's instructions carefully. Keep in mind these critical safety tips:
- Wear protective clothing and eyewear to shield against debris.
- Maintain a safe distance from the surface being cleaned.
- Avoid using ladders; instead, use an extension wand.
- Never point the pressure washer at people, pets, or fragile surfaces.

Preparing the Area
Clearing and Protecting Surroundings
Before you start pressure washing, clear the area of any obstacles like furniture, vehicles, or plants. Cover electrical outlets and delicate items with plastic sheeting or tarps to prevent water damage. Ensure all windows and doors are tightly closed.
Pre-Treating Stubborn Stains
For surfaces with stubborn stains, consider pre-treating with a suitable cleaning solution. This can help break down grime, making it easier to wash away. Be sure to choose a cleaner that’s appropriate for the material you're working with.
The Pressure Washing Process
Once the area is prepped, start by attaching the appropriate nozzle to your pressure washer. Begin cleaning from a distance and gradually move closer as needed. Use a sweeping motion to cover large areas evenly. Pay attention to corners and edges where dirt tends to accumulate.
Post-Washing Tips
After completing the pressure washing task, take some time to inspect the cleaned areas for any missed spots or potential damage. Allow surfaces to dry thoroughly before replacing furniture or removing protective covers. Regular maintenance can help keep surfaces looking pristine and prolong their life.
Conclusion
DIY pressure washing can be a rewarding project that enhances your property's curb appeal. By understanding the equipment, following safety precautions, and preparing adequately, you can achieve professional-looking results. Remember that practice makes perfect, so don't hesitate to experiment with different techniques and settings to find what works best for your cleaning needs.